Wednesday, March 18, 2009

Butter!

One thing led to another. And now I have... or HAD this. BUTTER!

I spent the night reading about butter-making, and was intrigued by the simplicity of it all... Just add cream and shake? Unbelievable. And do I seriously want to shake a bottle for hours and hours and hours? My arms are already sore from plucking my boy from trouble (literally) and is butter really worth losing my limbs for? :p But hey, it sounds really easy with a KitchenAid mixer. (hint).

While raiding the fridge for an afternoon snack, I noticed that I STILL had that half tub ofcream left over. What the heck. I dumped the content into a plastic container that used to contain some Chinese New Year goodies, and screwed on the red lid.

When I started shaking it, I went: uh oh... I don't have enough cream to work with! It was just coating the side of the jar! Dammit...

While lamenting this fact to my hubby & equally unsympathetic son, I noticed that the cream was curdling! That gave me HOPE. I shook some more and then I heard the legendary 'blop'! And we've got BUTTER! And I only shook that thingy for less than 5 mins!

There was too little buttermilk to be saved, and I yielded less than a palm size of butter. I added some honey (a little too much) after 'washing it' and glad-wrapped it before I left it in the fridge.

Just had it with some toast - and what a lovely light taste! I didn't salt the butter but next time, I promise I will flavour it better :>

Wednesday, February 25, 2009

The T-shirt

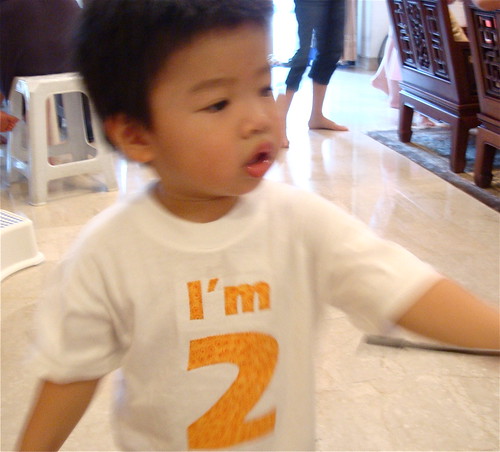
I've been thinking about doing up an appliqued t-shirt for Benji... for a long long time.


Really happy how this turned out - although I'm a still a bit lost about which stabilizer I should use. Here, I used a tear-away for the number '2'. For 'I'm' - I used an iron-on stabilizer which I think its a bit too stiff. I used the iron-on because I was terrified that when I 'tear-away' the stabilizer, it would rip up the t-shirt! Guess I need to experiment a bit more :p

All the Mother-care or Gap clothings that have embroidery or appliques use some kind of iron to protect the threads from chafing the baby's skin. Any ideas what it is and where I can find it?

Oh Goody goody!

Benji turned 2 last week and we threw a Crepes party over the weekend for our big and small friends.

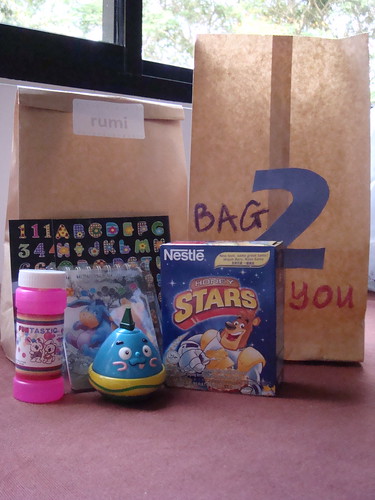
The goody bag is something that we take rather seriously here. We always feel that our little guests need to go back happy too! Just like how their presence and presents made our boy happy.

We think: What do I want Benji to get in his goody bag when we go to other parties? We know what we don't want: CANDIES, CHOCOLATES and toys that break too soon.

My friend helped with the goody bag preparation in a weekend - she decorated the paper bags, helped bundled crayons together, and supplied me with good and warm company.

For kids below 2 years, we included 1) alphabet and number stickers, 2) non-toxic bubbles, 3) a notepad, 4) 1 x Crayola TaDoodles Washable Crayon Buddy, 5) Cereal

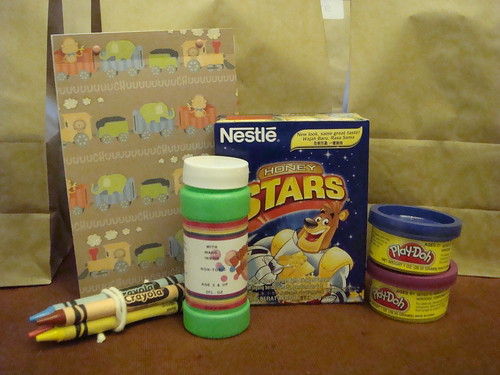
For the older kids, We included 1) alphabet and number stickers, 2) non-toxic bubbles, 3) 4 pcs of crayons, 4) 2 tubs of Play Doh, 5) Cereal, 6) a note pad - I cut up my DCWV Printed Cardstock Stack for cover & Backing and also added 12 pieces of recycled paper - attached 2 mini brads at the top. I hope this will lead to more repurposing/recycling by the parents because I know how much materials we consume EACH day!


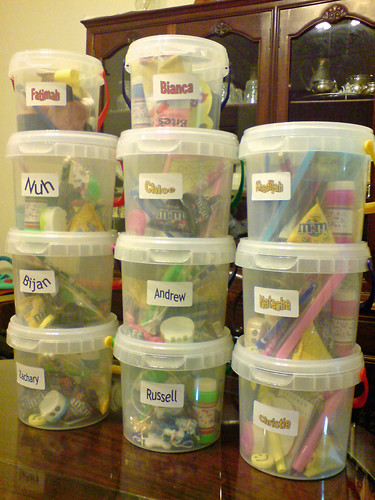
Last year, we used plastic tubs to hold the goodies. we included 'party materials' like noise makers, some plastic toys, pencils, erasers, sharpeners, etc. And we had chocolates for the older kids and biscuits for the younger ones. The younger ones received a Beanie Baby as well. It's quite a good feeling to see that the tubs being put to good use still when we visit our friends for playdates. But the cheap toys didn't last.


So, we hope that the crayons/play doh will leave many creative marks for their parents to capture for a long time to come! :D

Tuesday, February 17, 2009

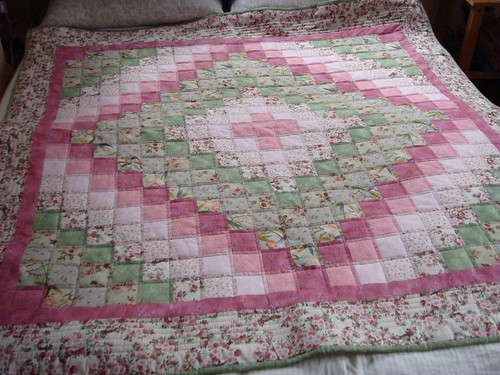
Trip Around The World - DONE DONE

I've been loving this project since Day 1. The top got done quite quick and then I put it away after basting it for quilting. I meant for this project to be my 30th present for myself. But that came and went, and I didn't get it quilted in time.

Over the New Year, my only craft-related resolution was: Finish what I have started, before I start something that I don't finish (quickly) again. So, in the past weeks, I have been doing small projects for the home and for the boy - more about those later on. I've pieced 3 more backings for my completed tops so that I can get them quilted and Done Done sooner.

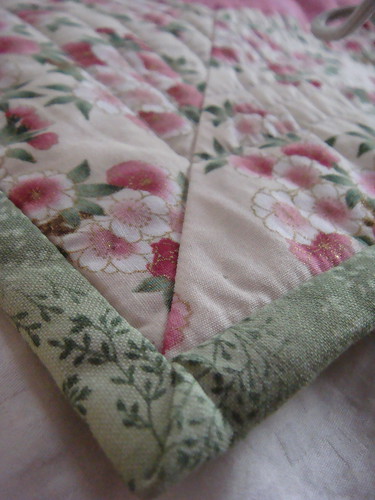
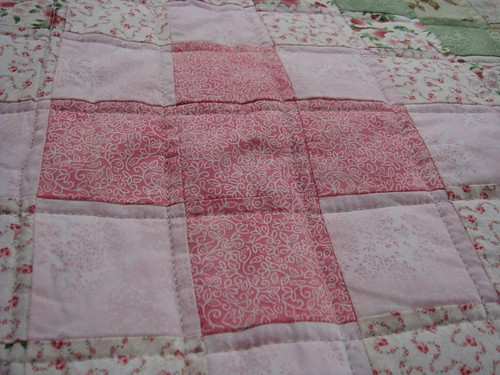
With a good friend's birthday around the corner, I thought I'd gift the TATW to her - as I remembered her liking it when I showed her the WIP. So, it was a few days of intense quilting during Benji's naps & bedtime. Here's the final product! It's a lap-sized square quilt, but it covered just the top of my Queen-size barely.


I simply enjoyed putting the binding on and handsewing the back down - I was like: Done already?! . Never mind that the mitered border & the mitered binding don't match much, it's still my pride and joy :>


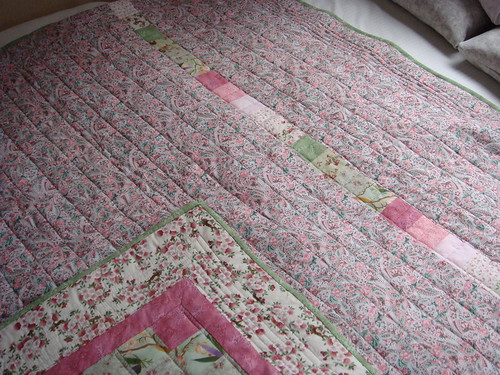
I quilted in straight lines with the walking foot - even then my lines are not all that straight!

Here's how the back of the quilt looks like. LOVE IT.

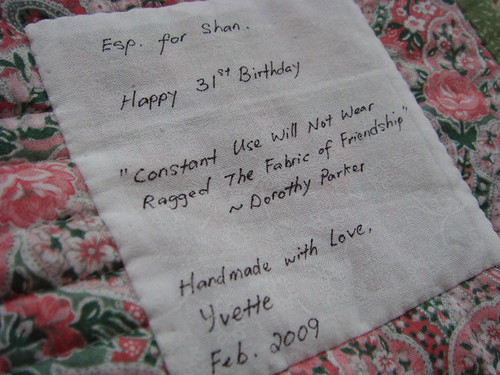
For the label, I grabbed a verse from Dorothy Parker - how apt for a quilty gift for a friend! :>

Wednesday, February 11, 2009

Full Circle

Yes, yet another new toy :> I've been collecting all these 'sewing toys' like how we are collecting Thomas train sets for Benji :p I HEART my sewing toys ;>

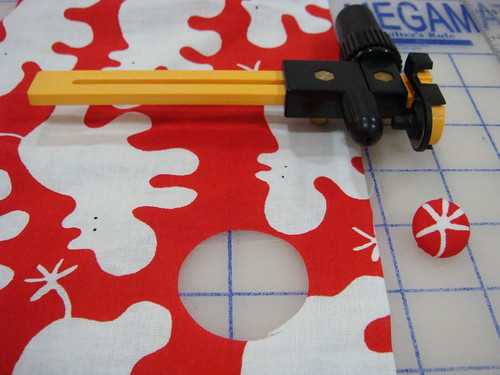
Here's a 'must have' tool for cutting circles! It's the Olfa rotary circle cutter which I bought at Popular Bookstore during their year end sale.


This circle was cut WITHOUT any stabilizer, freezer paper, etc. It just works! I used it for the self covering button bought at Spotlight many moons back.

I'm already planning another project cutting up circles from my scraps for a home decor project. Hopefully I'll get to that soon! :>

Monday, January 19, 2009

Denyse Schmidt - Mix-it-up coasters

One of my favourite crafty books is this one. It inspires me a lot, in terms of colours, designs, etc. More of all, it shows me that sewing/quilting should be done YOUR WAY. No quilt police to tell you that your sewing must be 100% accurate, that your colours must consist of this & that, that your blocks must be true & true traditional, etc. The quilts are very different from the ones I see displayed at the quilt shops/workshops. DS' quilts are so refreshing & modern and I simply want to try each and every one of them.

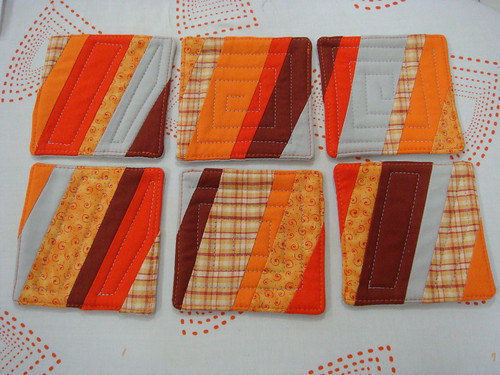
After many months of book-ownership, DS flickr-group browsing, I finally decided to create something out of her book for a friend's new home. COASTERS! I know, I know. It's nothing challenging or great as a quilt or some of her other quirky project, but this gal gotta start somewhere, okie? ;>

Well, looking at the book, I thought: geez, I can make these coasters in 15 mins. I was SOOOOOO wrong. I ended up slaving away the entire evening over this set of 6 coasters.

Step 1: Enlarge pattern design
Step 2: Roughly cut up the pieces from the pattern sheet
Step 3: Stick each piece on a plastic template sheet & trim
Step 4: Punch out the points where the 1/4" seam lines intersects on all sides of the templates (6 pcs)
Step 5: Pick out 6 different fabrics
Step 6: Cut out fabric rectangles & stack them
Step 7: Trace pattern (mark out the 1/4" points too) on the top piece of fabric with water soluble pen & then cut them out. I rotary cut the 6 layers of fabrics.
Step 8: Switch the pieces around to make sure each top will have a different combination of fabrics.
Step 9: Match points, pin, sew, iron, repeat again & again & again...
Step 10: Square up

That's just for making the coaster tops. When I finally made them into cushy coasters and quilted them, it was just sooooo sooooo satisfying. Overall, the coasters are just nice for the couple's new home, which has a comfy basement/entertainment room, with orange walls, some nice grey tiles... I picked the fabrics with their colourways in mind... And I think my friend appreciates them, so I'm happy. :>


Okay, another house-warming coming up next week. More coasters??? :>

1st post of 2009!

It's been a LONG while! Well, it had been a busy Christmas, my hubby & I worked through the New Year and now we having the Lunar New Year coming up next Monday! Gosh... I need a holiday from all the holidays!

Found time to start a new project at the beginning of the year, though. More updates when it gets closer to a better shape to be shown! :D And I also indulged a 'little' online retail therapy, which arrived last week!

Over the Christmas period, I managed to sew up a few made-with-love (read: wonky sewing) items for some special people.

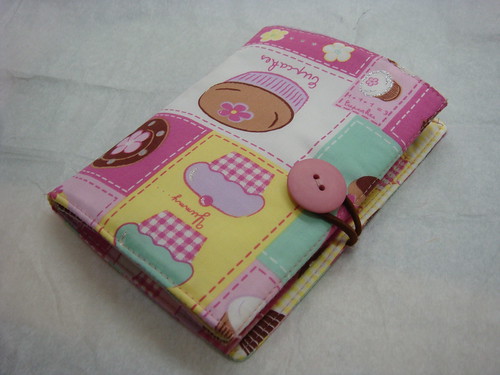
Remember the cupcakes fabrics? I made the crayon wallet for a friend's little girl since it was such a big hit with Benji :> I LOVE LOVE LOVE how sweet this wallet turned out.


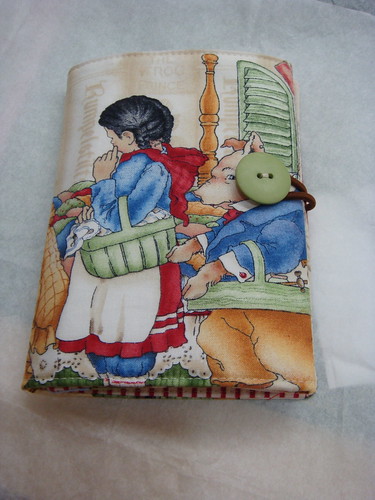
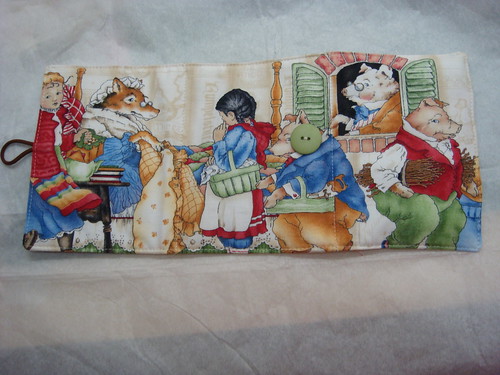
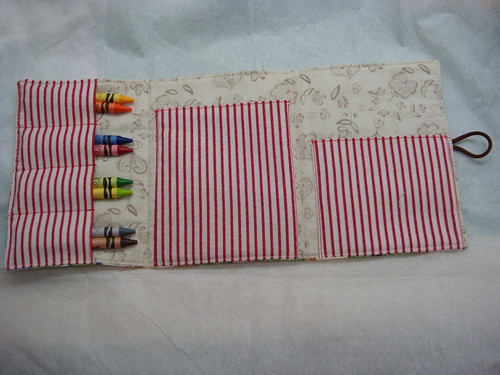
For another creative little 3 YO, I made the crayon wallet with the scraps from Gram's Fairy Tale baby quilt and it turned out perfect (in my opinion! :p)


I believe I will continue to make more of these wallets for more of our little friends! :>